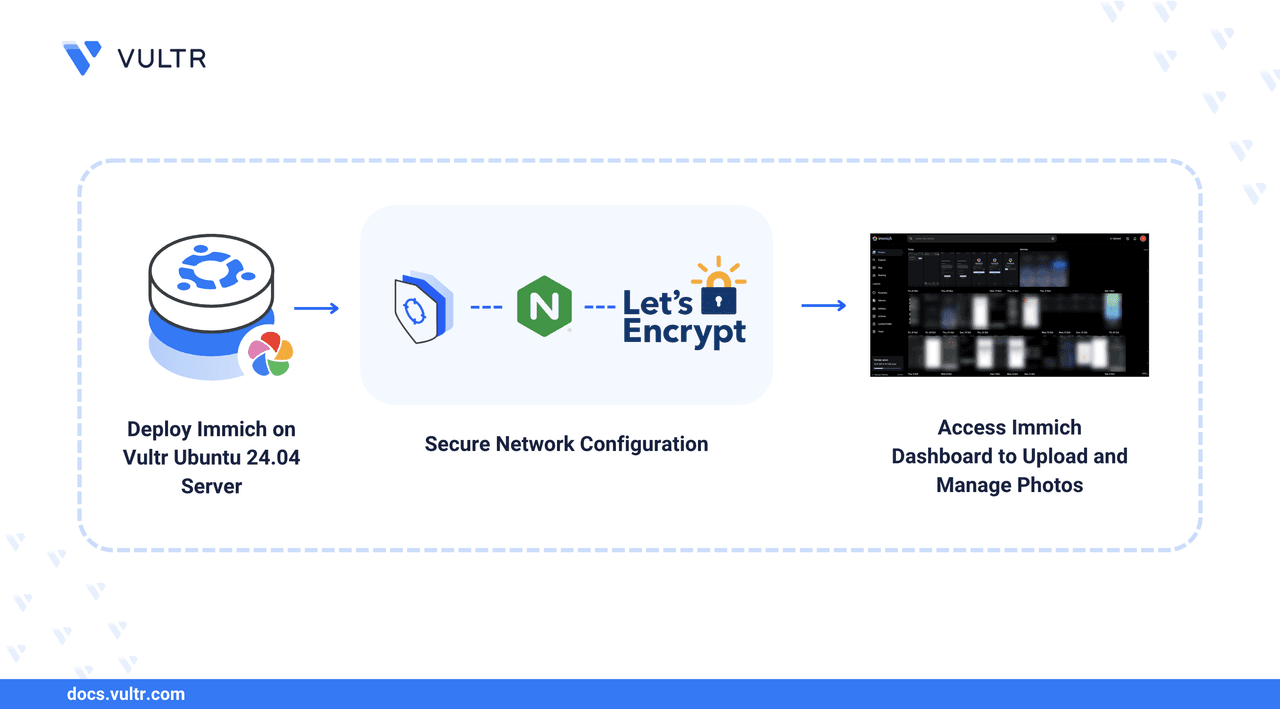
Overview
Immich is an open-source, high-performance photo and video management solution that serves as a self-hosted alternative to Google Photos. It provides a web-based interface for uploading and managing media, with features like albums, backups, and mobile app support. This article details how to deploy Immich on Ubuntu 24.04 using Docker, configure Nginx as a reverse proxy, secure it with TLS certificates, and optionally integrate Vultr Block Storage for expanded storage.
Prerequisites
- Ubuntu 24.04 server with a non-root sudo user
- Docker and Docker Compose installed
- A domain name (e.g., immich.example.com) pointing to your server's public IP
Step 1: Set Up Directory Structure and Environment
Create a project directory and download the latest .env file from Immich's GitHub releases:
mkdir ~/immich && cd ~/immich
wget -O .env https://github.com/immich-app/immich/releases/latest/download/example.env
Edit the .env file to set your timezone (e.g., Europe/London) and optionally change the default storage paths. Key variables include:
UPLOAD_LOCATION: Path for uploaded media (default:./library)DB_DATA_LOCATION: Path for PostgreSQL dataDB_PASSWORD,DB_USERNAME,DB_DATABASE_NAME: Database credentials
Step 2: Deploy with Docker Compose
Download the official docker-compose.yml:
wget https://github.com/immich-app/immich/releases/latest/download/docker-compose.yml
This manifest defines three services:
immich-server: The main applicationpostgres: Metadata storage (users, albums, file references)valkey: In-memory datastore for background jobs and caching (Redis-compatible)
Add your user to the docker group and start the containers:
sudo usermod -aG docker $USER
newgrp docker
docker compose up -d
Verify all containers are running:
docker ps
Immich listens on port 2283 by default. Test with curl:
curl -X GET 127.0.0.1:2283
Step 3: Configure Nginx as a Reverse Proxy
Install Nginx and remove the default site:
sudo apt update
sudo apt install nginx -y
sudo systemctl enable nginx
sudo rm /etc/nginx/sites-enabled/default
Create a new virtual host configuration at /etc/nginx/sites-available/immich.conf:
server {
    listen 80;
    server_name immich.example.com;

    location / {
        client_max_body_size 10M;
        proxy_pass http://127.0.0.1:2283;
        proxy_http_version 1.1;
        proxy_set_header Upgrade $http_upgrade;
        proxy_set_header Connection "upgrade";
        proxy_set_header Host $host;
        proxy_set_header X-Real-IP $remote_addr;
        proxy_set_header X-Forwarded-For $proxy_add_x_forwarded_for;
        proxy_set_header X-Forwarded-Proto $scheme;
    }
}
Enable the site and restart Nginx:
sudo ln -s /etc/nginx/sites-available/immich.conf /etc/nginx/sites-enabled/
sudo nginx -t
sudo systemctl restart nginx
Adjust client_max_body_size if you plan to upload large files.
Step 4: Secure with TLS Certificates
Install Certbot and obtain a Let's Encrypt certificate:
sudo apt install certbot python3-certbot-nginx -y
sudo certbot --nginx -d immich.example.com -m admin@example.com --non-interactive
Certbot automatically updates the Nginx config to enable HTTPS.
Step 5: Access and Configure Immich
Open https://immich.example.com in a browser. Click Getting Started and create an admin account. Follow the setup wizard to configure theme, language, privacy settings, storage templates, and backups.
Create Additional Users
Navigate to Administration > Users and click Create user. Set email, password, display name, and a quota in GB.
Step 6: Upload and Manage Photos
Use the web interface to upload files, or install the Immich mobile app (available on Android and iOS). Configure the server endpoint URL (your domain) and log in. Enable backup on your mobile device to automatically upload photos.
Step 7 (Optional): Integrate Vultr Block Storage
To separate media from the system disk:
- Provision and attach a Vultr Block Storage volume to your server, mounting it at
/mnt/blockstorage. - Stop Immich containers:
docker compose down - Create the required directory structure:
sudo mkdir -p /mnt/blockstorage/immich/{library,upload,thumbs,profile,encoded-video,backups}
sudo touch /mnt/blockstorage/immich/{library,upload,thumbs,profile,encoded-video,backups}/.immich
- Sync existing media (optional):
sudo rsync -avzh ./library/* /mnt/blockstorage/immich/
- Set ownership to the container user (UID 1000):
sudo chown -R 1000:1000 /mnt/blockstorage/immich
- Update
.envwithUPLOAD_LOCATION=/mnt/blockstorage/immich - Restart Immich:
docker compose up -d
Verify the new upload location:
docker exec -it immich_server env | grep UPLOAD_LOCATION
Next Steps
Immich is now fully operational. Consider enabling automatic backups, configuring external storage for scalability, and exploring the mobile app for seamless photo syncing across devices.
