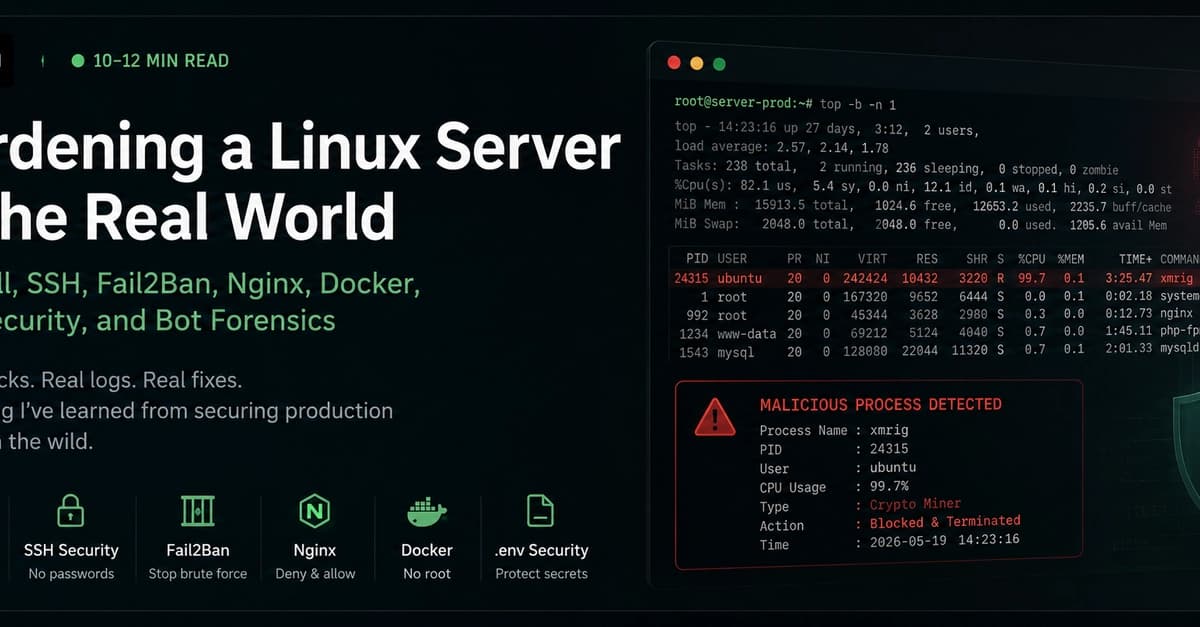
Every public server becomes part of the internet's background noise quickly. Author Amir Sefati learned this firsthand by monitoring production traffic. He wasn't just seeing normal users and crawlers — he saw bots probing predictable paths like /.env, /.git/config, credentials.json, and service-account.json. These weren't random; they were patterns. This experience shaped his layered security approach: firewall first, SSH reduction, key-only auth, non-root users, Fail2Ban, Nginx deny rules, Docker isolation, process monitoring, CDN/WAF, and forensic habits.
Step 1: Create a Non-Root User
Stop working as root. Create a user with sudo:
adduser deploy
usermod -aG sudo deploy
Copy your SSH key:
mkdir -p /home/deploy/.ssh
nano /home/deploy/.ssh/authorized_keys
chown -R deploy:deploy /home/deploy/.ssh
chmod 700 /home/deploy/.ssh
chmod 600 /home/deploy/.ssh/authorized_keys
Test login in a second terminal before disabling root. Never close the old door before testing the new one.
Step 2: Harden SSH
Edit /etc/ssh/sshd_config:
Port 2222
PermitRootLogin no
PasswordAuthentication no
PubkeyAuthentication yes
KbdInteractiveAuthentication no
ChallengeResponseAuthentication no
X11Forwarding no
AllowUsers deploy
Validate with sudo sshd -t, then reload: sudo systemctl reload ssh. Test the new port: ssh -p 2222 deploy@SERVER_IP. Changing the port reduces automated noise, but the real security is disabling root and password login.
Step 3: Enable UFW Carefully
Allow the new SSH port first to avoid lockout:
sudo ufw default deny incoming
sudo ufw default allow outgoing
sudo ufw allow 2222/tcp
sudo ufw allow 80/tcp
sudo ufw allow 443/tcp
sudo ufw enable
If you have a static IP, restrict SSH further:
sudo ufw delete allow 2222/tcp
sudo ufw allow from YOUR_PUBLIC_IP to any port 2222 proto tcp
For production, SSH should only be reachable from trusted IPs, VPN, or bastion host.
Step 4: Install Fail2Ban
Firewall rules are static; Fail2Ban adds behavior-based blocking.
sudo apt update
sudo apt install fail2ban -y
sudo systemctl enable --now fail2ban
Create /etc/fail2ban/jail.local for SSH:
[sshd]
enabled = true
port = 2222
filter = sshd
logpath = /var/log/auth.log
maxretry = 3
findtime = 10m
bantime = 1h
backend = systemd
Restart: sudo systemctl restart fail2ban. Then add Nginx patterns for sensitive paths. Create /etc/fail2ban/filter.d/nginx-sensitive-paths.conf:
[Definition]
failregex = ^ - .* "(GET|POST|HEAD) /(.*)?(\.env|\.git/config|credentials\.json|service-account\.json|__env\.js|actuator/env|phpinfo\.php|wp-admin/install\.php).*" (403|404|444) .*
ignoreregex =
Add a jail:
[nginx-sensitive-paths]
enabled = true
port = http,https
filter = nginx-sensitive-paths
logpath = /var/log/nginx/access.log
maxretry = 3
findtime = 10m
bantime = 6h
Test with sudo fail2ban-regex /var/log/nginx/access.log /etc/fail2ban/filter.d/nginx-sensitive-paths.conf. Start strict and tune.
Step 5: Nginx Deny Rules
Reject sensitive files before they reach the app:
# Block hidden files
location ~ /\.(?!well-known) {
    deny all;
    access_log off;
    log_not_found off;
}

# Block common secret files
location ~* ^/(.*)?(\.env|\.env\..*|credentials\.json|service-account\.json|__env\.js|composer\.(json|lock)|package-lock\.json|yarn\.lock)$ {
    deny all;
    access_log /var/log/nginx/security-access.log;
}

# Block backup/archive/database files
location ~* \.(bak|backup|old|orig|save|swp|sql|sqlite|db|tar|gz|zip|7z|rar)$ {
    deny all;
    access_log /var/log/nginx/security-access.log;
}

# Block PHP probing on non-PHP apps
location ~* /(phpinfo\.php|wp-admin/install\.php|xmlrpc\.php)$ {
    return 404;
}
For admin panels, use allow lists:
location /admin/ {
    allow YOUR_TRUSTED_IP;
    deny all;
    proxy_pass http://127.0.0.1:3050;
    proxy_set_header Host $host;
    proxy_set_header X-Real-IP $remote_addr;
}
If behind Cloudflare, configure real IP module to avoid banning CDN proxies.
Step 6: .env Protection
The .env file is one of the most targeted files. It often contains DATABASE_URL, JWT_SECRET, AWS_ACCESS_KEY_ID, STRIPE_SECRET_KEY, etc. A leaked .env can turn a misconfiguration into a full incident.
Never place .env under web root
Bad: /var/www/app/public/.env. Better: /opt/myapp/.env or /etc/myapp/myapp.env.
Strict permissions
sudo chown deploy:deploy /opt/myapp/.env
sudo chmod 600 /opt/myapp/.env
For systemd, use EnvironmentFile:
[Service]
User=deploy
Group=deploy
EnvironmentFile=/etc/myapp/myapp.env
ExecStart=/usr/bin/node /opt/myapp/server.js
Set permissions: sudo chown root:deploy /etc/myapp/myapp.env and sudo chmod 640 /etc/myapp/myapp.env.
Never commit .env
.gitignore must include:
.env
.env.*
!.env.example
.env.example should contain only placeholders.
Don't bake secrets into Docker images
Bad: ENV DATABASE_URL=postgres://real-secret. Better: use env_file in Docker Compose:
services:
  api:
    image: my-api:latest
    env_file:
      - /etc/myapp/myapp.env
Step 7: Docker Isolation and Monitoring
Run containers with minimal privileges. Use read-only root filesystems, drop capabilities, and avoid --privileged. Monitor processes: the author built WatchTower-Sentinel, a Go tool that tails Nginx access logs, tracks first-seen IPs, watches CPU/RAM, inspects suspicious processes, and sends Telegram alerts. It helped identify real bot behavior from production traffic.
Conclusion: Boring Security Works
The attacker doesn't need a zero-day if the app serves secrets as static files. Start with the basics: non-root user, key-only SSH, UFW, Fail2Ban, Nginx deny rules, and .env isolation. Test every change before locking the old door. Build forensic habits — monitor logs, watch for patterns, and react to behavior, not noise.


